Building Pantheon Desktop Environment
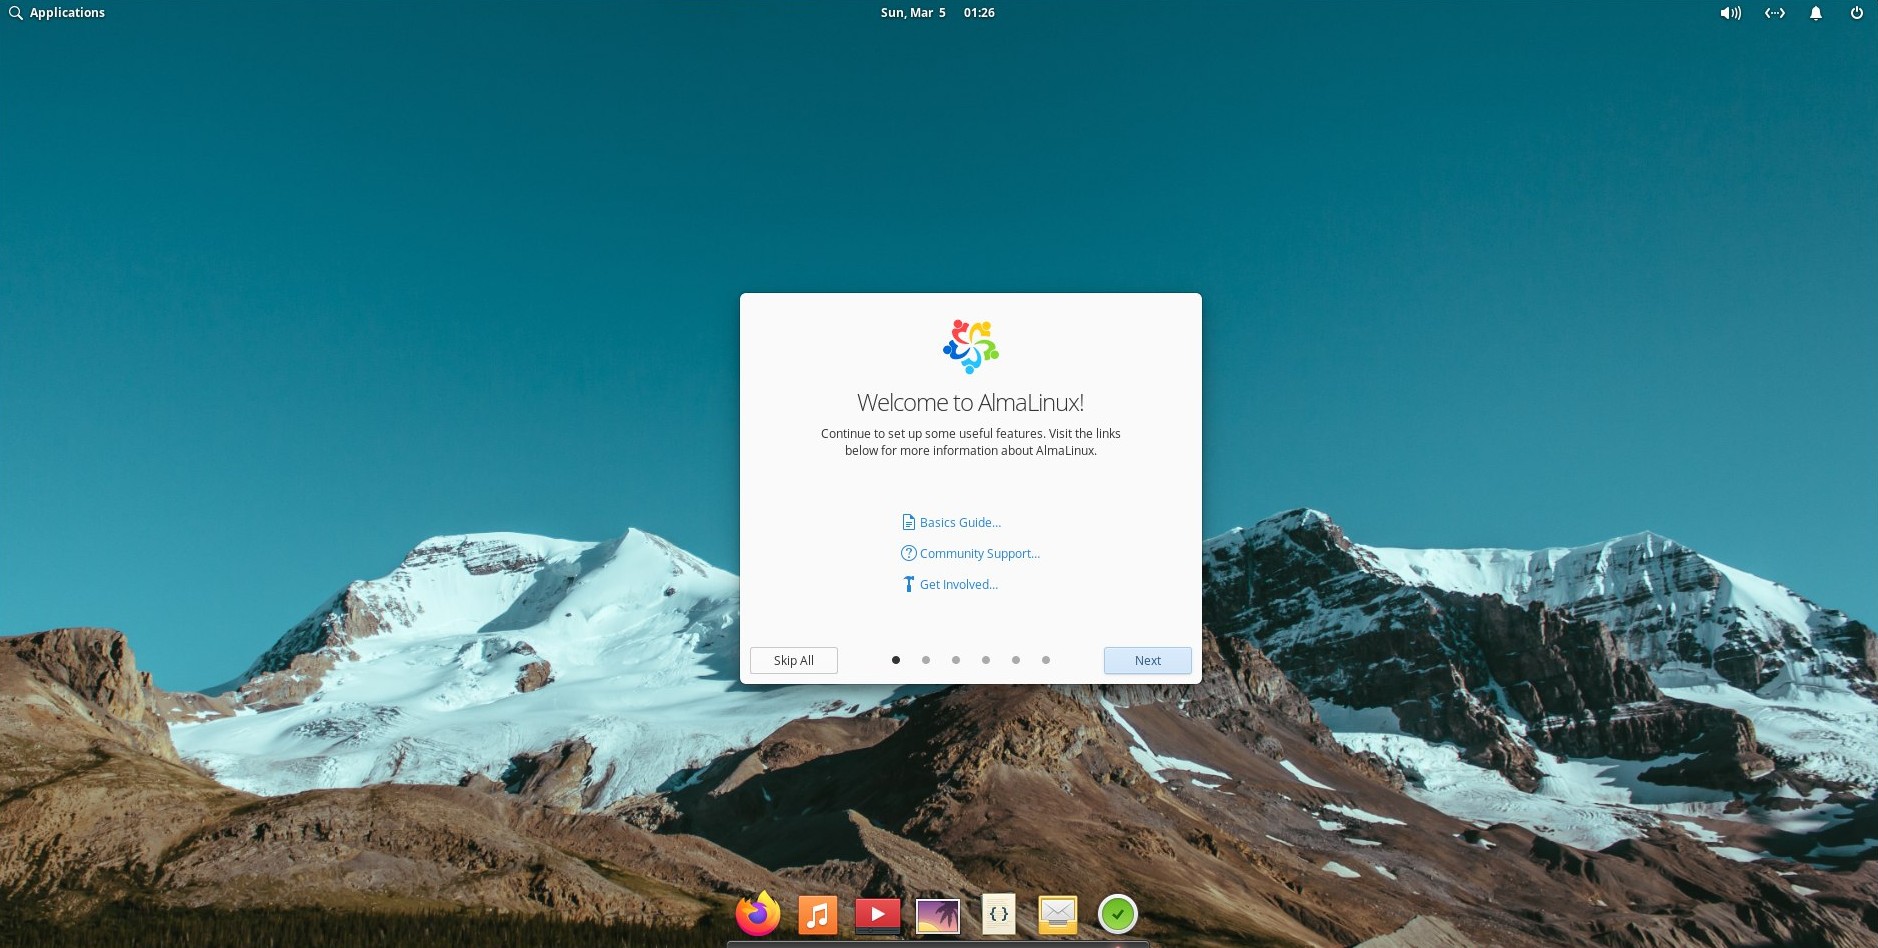
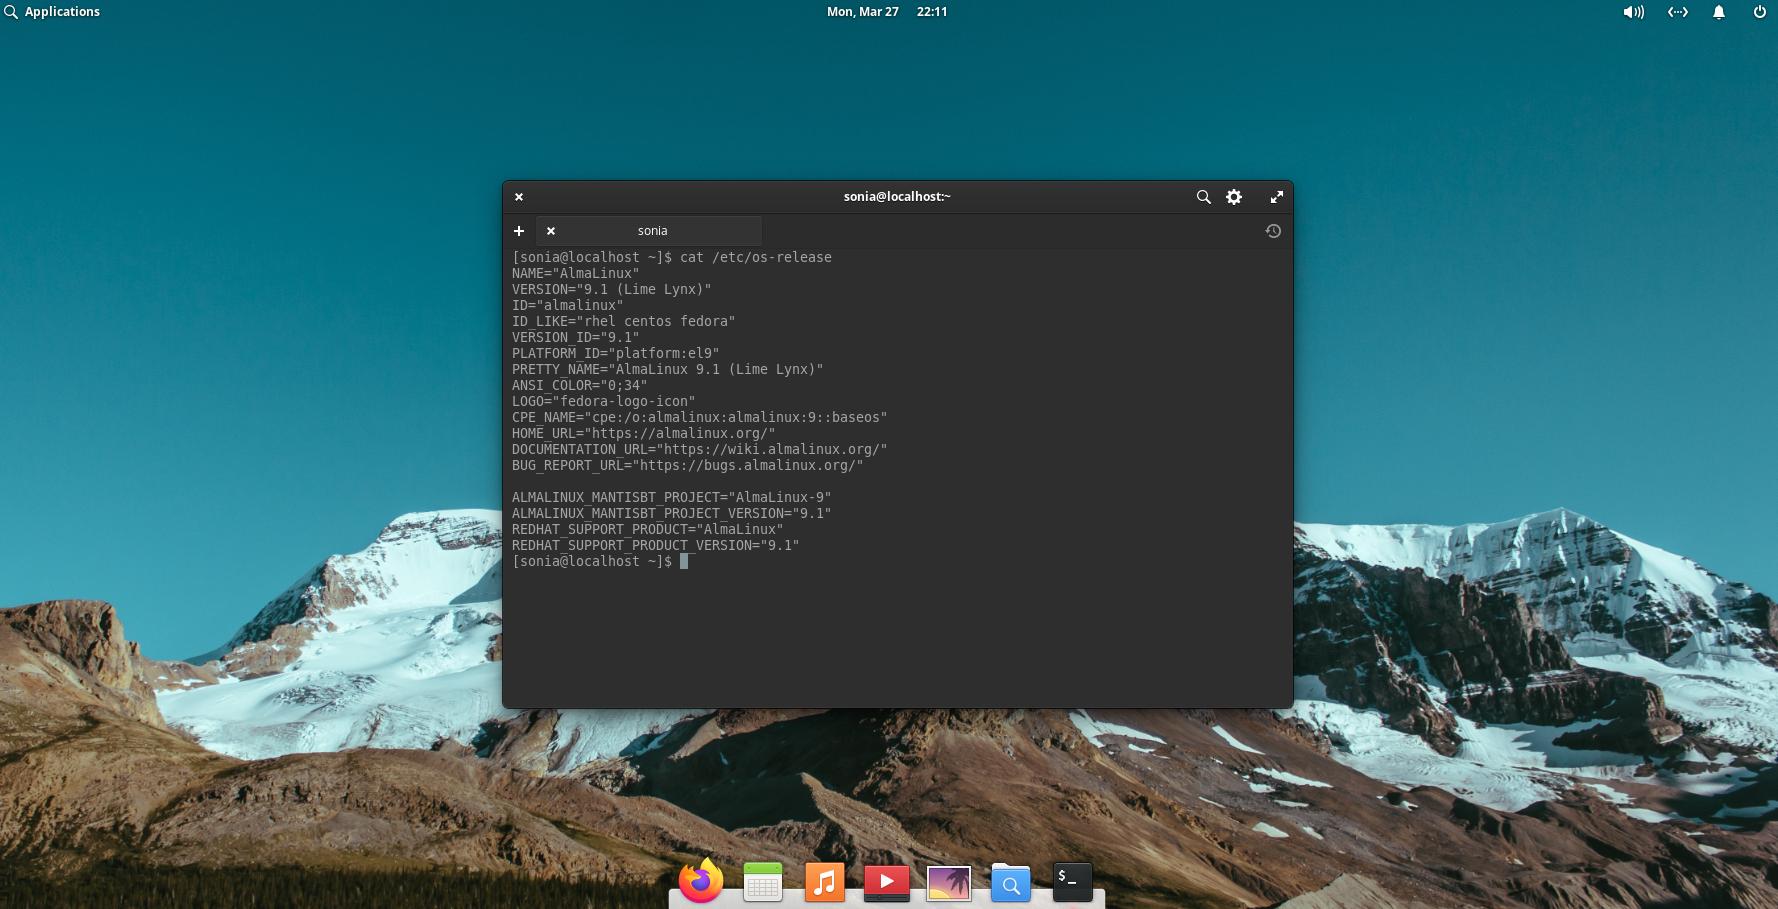
Hello, AlmaLinux Community! Let me start off by introducing myself - my name is Sonia, and I’m a Technical Writer for AlmaLinux OS Project. In this blog post, I’m describing one of the ways that I have contributed to AlmaLinux recently. With much learning, I have successfully ported the Pantheon desktop environment to AlmaLinux 9.
The Idea
Several key factors contributed to the successful integration of AlmaLinux with the Pantheon desktop environment:
- The desire to broaden and diversify the spectrum of AlmaLinux Desktop Environments variants.
- The aesthetic appeal of the Pantheon desktop environment, which I found to be quite visually pleasing.
- As a newcomer to this technical domain, the project offered a unique opportunity to expand my knowledge and skillset.
- The entire process was an enjoyable and engaging experience.
These reasons provided a solid foundation for embarking on the AlmaLinux Pantheon project. My journey demonstrates that contributing to open-source projects is achievable at any stage without requiring extensive expertise in Linux or programming.
Now, it’s time to delve into the various stages of the development process.
Preparations and Requirements
Researching the Pantheon Desktop Environment
I used my Fedora machine and installed the Pantheon desktop environment to take a peek at what the packages included. During this phase also I compared a list of Fedora Pantheon SIG packages that I found on the Internet with what I saw having been installed. As I used this install as inspiration, I was mostly focused on rebuilding the Fedora 36 packages.
The next stage was to rebuild those packages for AlmaLinux.
Requirements for rebuilding
- AlmaLinux 9 machine - as I started my experiment with rebuilding the packages locally, I didn’t need much. A bare AlmaLinux 9 machine was enough.
- Installed git - using the
dnf install git-all. mocktool - I followed the AlmaLinux Building Packages Guide to installmockand use it.
Enabling repositories
Basic research of required Pantheon packages and rebuilding them locally defined that I needed a few extra repositories to be enabled. These repositories may contain some auxiliary packages that might be needed since I don’t want to build packages that AlmaLinux already has.
The enabling commands were taken from the AlmaLinux Wiki Repositories page unless otherwise noted.
- EPEL repo
- PowerTools (CRB) repo
- Devel repo
- I didn’t enable this repo server-wide with the
dnf config-manager --set-enabledcommand. Devel repo is more like an internal repo and it’s not supposed to be enabled on a regular basis. Instead, I enabled it in the mock configuration, as you will see below. To do this I made some changes in the AlmaLinux template in/etc/mock/templatesto set up the devel repository as enabled.
- I didn’t enable this repo server-wide with the
Creating my local repository
I needed to install some additional tools before building my packages. That’s where creating and using a local repo helped me.
I started by following these instructions, that should work for most Red Hat-based systems:
Install the createrepo tool - Note: this was already installed in my environment when I installed
mock:dnf install createrepo_cCreate your new repository directory:
mkdir -p /path/to/repositoryCopy needed rpms to this directory. In my case, I didn’t have any rpms built yet to copy. Instead, I was just using the
--resultid /path/to/repoargument in themockcommand to build the packages directly to the local repo folder.Run createrepo_с command:
createrepo_c /path/to/repositoryEach time there’s a new package in your local repo folder, run the following command to update the repo:
createrepo_c .Now there’s an important detail. As opposed to the random internet instruction, I didn’t create my repo’s config in the
/etc/yum.repos.ddirectory. This didn’t really work for my purposes. Instead, I followed the advice of Andrew, our Build SIG leader, here and created a new version of the mock config in/etc/mock/with the necessary modifications:include('almalinux-9-x86_64.cfg') include('templates/epel-9.tpl') # in this block you can see my changes config_opts['yum.conf'] += """ [el] name=el baseurl=file:///path/to/repo enabled=1 gpgcheck=0 """ config_opts['root'] = "alma+epel-9-{{ target_arch }}-local" config_opts['description'] = 'AlmaLinux 9 + EPEL'
Rebuilding packages
Of course, I faced a number of issues while building packages with the mock tool. Some of the packages demanded changes in spec files - for example, to put changes to match AlmaLinux packages versions. And for some packages, I had to build other versions. But I tried to note the changes that were required below.
When I had all the necessary packages built and installed, I could enjoy the new look of AlmaLinux!

Now that I ensured that it actually does work with AlmaLinux, it was time to proceed with the next step - build these packages with AlmaLinux Build System.
Uploading sources to AlmaLinux Git Service
I was guided to add all the package sources directly to the AlmaLinux Git Service.
Getting the AlmaLinux Git Service Utility
The AlmaLinux Git Service Utility is a tool that is being used to house AlmaLinux package sources.
I followed these simple instructions on how to use the AlmaLinux Git Service Utility to upload sources.
Clone the repository https://git.almalinux.org/almalinux/almalinux-git-utils
Switch to the repository’s directory and install the utility:
python3 setup.py installI used the alma_blob_upload utility script to upload the sources.
Note: Run
alma_blob_upload -hor check the instruction to learn how to use the script.Install AWS-CLI and add credentials.
Note: Using the AWS-CLI utility requires having AWS credentials (which were kindly provided to me by Elkhan Mammadli, AlmaLinux Cloud SIG leader)
Now everything is ready to upload the sources.
- Navigate the browser to https://git.almalinux.org/.
- Login using the GitHub account.
- Upload your sources - I was granted the “AlmaLinux Team member” access so I was able to upload my sources as AlmaLinux sources.
- Create a new repository - the repository’s name is after the .spec file. This is also the project’s name.
Back on your AlmaLinux computer
- Clone the empty repository that you just created and switch to its directory.
- Create a .gitignore file
touch .gitignore - Create SPECS and SOURCES folders in the project’s directory.
mkdir SPECS mkdir SOURCES - Switch to the /project-name/SOURCES directory and place the .src.rpm file there - I used source rpms that I got as a result of rebuilding the package locally.
- Run the following command to extract contents:
rpm2cpio %src.rpm_file_name | cpio -i - You can then delete .src.rpm file.
- Move .spec file to the /project-name/SPECS directory.
- Switch to the project’s directory and add the extracted
.tararchive file to the .gitignore file like this:SOURCES/archive_file_name - Upload the source using the alma_blob_upload script:
alma_blob_upload -f SOURCES/archive_file_name -o .project_name.metadata - Add the files for the commit:
git add * .gitignore .project_name.metadata - Send the commit and push the changes.
git push - Go back to the repository in the browser to check that everything’s uploaded and in place. I also renamed the branch name to include a9 in Settings to make it more clear that this package was for AlmaLinux OS 9.
Revamping Packages with AlmaLinux Build System
Once the source is uploaded, the AlmaLinux Build System can be utilized to build the package. I adhered to the guidelines for creating my own community repository, initiating new builds using the “add a project from git.almalinux.org” option, and incorporating the build into the community repository.
The AlmaLinux-Pantheon Community Repository can be installed to access the AlmaLinux 9 required packages for all 4 supported architectures.
Installing Pantheon
To install Pantheon desktop packages you need to enable a few additional repos:
PowerTools/CRB and EPEL - check the wiki for commands.
Community repo
- Install core dnf plugins that contains COPR plugin
dnf install dnf-plugins-core- Download AlmaLinux configuration file in your system
curl -o /etc/dnf/plugins/copr.d/almalinux.conf \ https://raw.githubusercontent.com/AlmaLinux/albs-web-server/master/reference_data/almalinux.conf- Enable Pantheon community repo
dnf copr --hub build.almalinux.org enable sboldyreva/Pantheon-groupNow simply run the following command to install packages and enjoy the new desktop environment:
dnf group install "Pantheon Desktop"
Wrapping Up with Enthusiasm: Test, Contribute, and Collaborate!
As we conclude, I’m thrilled to invite you all to test and explore the fresh new look of AlmaLinux! Join the conversation in the Mattermost chat, share your feedback, and let’s work together to refine and enhance this exciting desktop experience. Let’s make it even better together!
Acknowledgments
It’s important to me that I also note that I was not alone in this endeavor - I received invaluable support from AlmaLinux engineers, Andrew Lukoshko and Eduard Abdullin. Also, a thank you to the AlmaLinux Evangelist, Pawel Suchanecki, whose assistance helped me to create this article.
